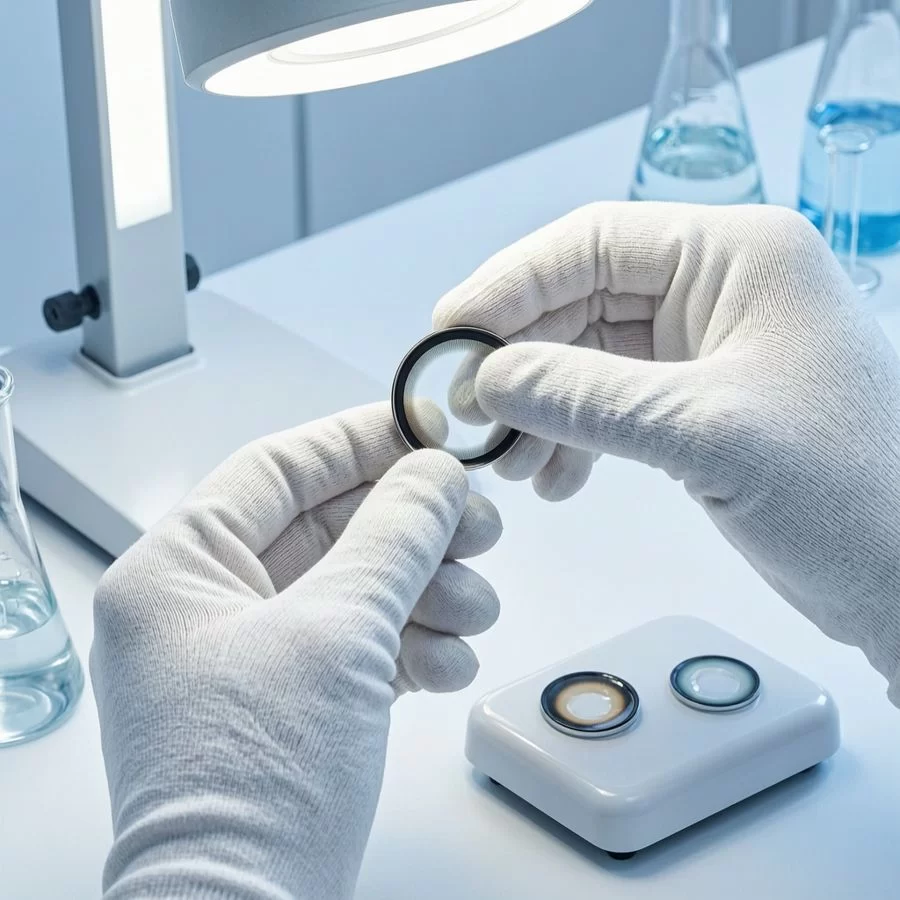
Here’s a scene we see more often than we’d like: a new brand owner receives their first batch of sample lenses, opens the blister, pops one on a mannequin eye (or, worse, their own), decides it “looks fine,” signs off the order — and three months later gets flooded with customer complaints about dryness, blurred edges, or colors that look nothing like the website photos.
The sampling stage is where contact lens brands are quietly made or broken. It’s not glamorous, it’s not fast, and it’s the one step most first-time buyers rush through. After years on the manufacturing side of this industry, we’ve put together the evaluation process we wish every buyer followed — whether you’re working with us or anyone else.
Why the Sampling Stage Deserves More Respect Than It Gets
A contact lens isn’t like a T-shirt sample. With apparel, a flawed sample means an awkward fit. With lenses, a flawed sample can mean eye irritation, corneal issues, returns, negative reviews, and in regulated markets, trouble with authorities. The stakes are simply different.
And here’s the uncomfortable truth: mass production will never be better than your approved sample. Factories reproduce what you sign off on. If you approve mediocrity, you get mediocrity at scale — multiplied by ten thousand units.
The sampling stage is also your only real window into how a factory actually works. Communication speed, honesty about limitations, willingness to iterate — all of it shows up here. If a supplier is slow and evasive during sampling, imagine how they’ll handle a production crisis.
Step 1: Define What You’re Actually Sampling
Before a single lens is made, get specific about what the sample is supposed to prove. In practice, samples usually serve one of three purposes:
- Color and design verification. Does the shade match your concept? Does the pattern look natural on real eyes, across different iris colors?
- Comfort and specification verification. Does the base curve fit your target market’s expectations? Is the water content right for the wearing habits you’re selling into?
- Full product validation. Color, comfort, packaging, labeling — everything, evaluated together before committing to bulk.
Most first-time buyers skip this conversation entirely and just say “send me samples.” That’s how you end up with a beautiful lens that’s wrong for your market, or a comfortable lens in a color nobody wants.
Step 2: Test Color on Real Eyes, Not on Screens
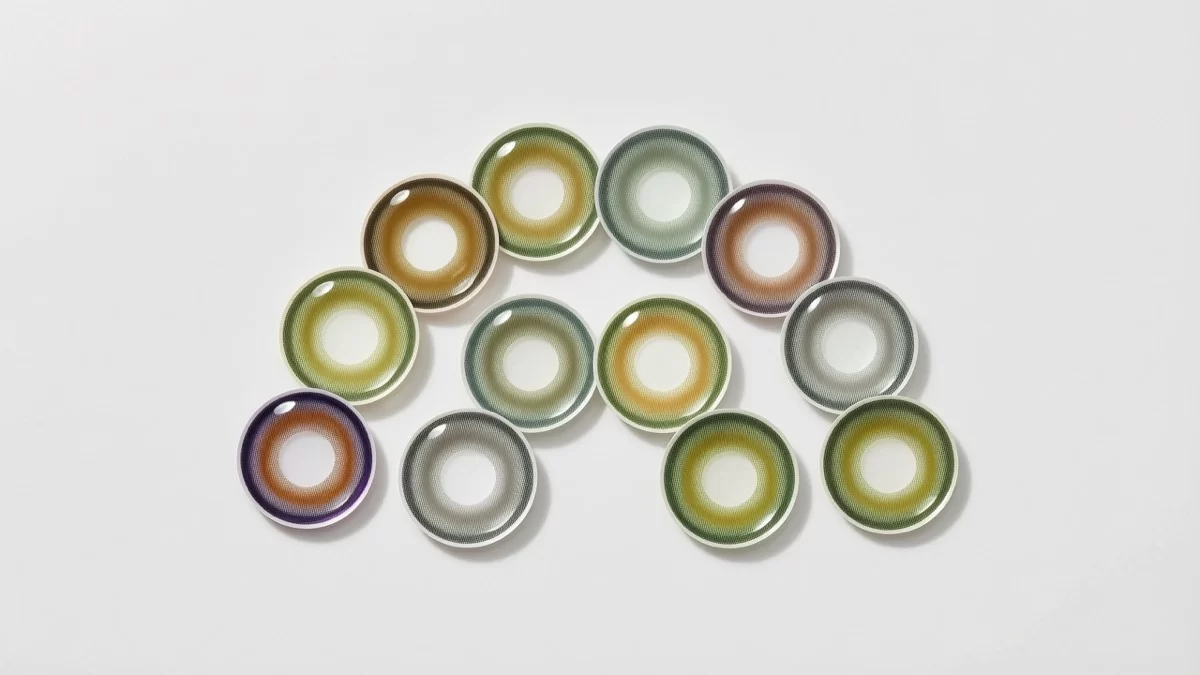
This is the single most common sampling mistake we see. A lens color evaluated on a white background, in a product render, or even on a plastic eye model will look dramatically different on a human iris.
Dark brown eyes render color differently than light hazel eyes. Indoor lighting flatters differently than sunlight. And camera sensors — especially smartphone cameras — shift color balance in ways that have fooled many an experienced buyer.
Our recommendation:
- Test the sample on at least three different iris colors — dark brown, medium brown, and one light eye.
- Photograph in natural daylight and indoor lighting, both.
- Have wearers keep the lenses in for a normal wearing session (2–4 hours), because some colors appear to “fade” or shift as the lens settles and hydrates.
- Compare the result directly against the marketing photos you’re planning. If there’s a visible gap, either adjust the product or adjust the photography — but never ship that gap to customers.
Step 3: Evaluate Comfort Like a Customer, Not Like a Buyer
Comfort complaints are the number one driver of bad reviews and refund requests in this category. Yet many buyers evaluate comfort in thirty seconds: “feels okay, moving on.”
A proper comfort evaluation looks more like this:
- First 5 minutes: any stinging or immediate foreign-body sensation? That’s a red flag, not something that “breaks in.”
- Hour two: does the lens stay centered? Edge flip or rotation at this stage often points to base curve or diameter issues.
- Hour four and beyond: dryness is the killer metric. Lenses that feel great at hour one but parch eyes by hour four will generate the exact reviews that sink a young brand.
- End of day: how easy is removal? Any residual discomfort afterward?
If you’re selling daily wear lenses into dry climates — the Middle East, parts of Southeast Asia with heavy air conditioning — weight the dryness metric even more heavily, and ask your supplier honestly whether a different water content or material would serve that market better. A good factory will tell you the truth here, even when the answer costs them a little.
Step 4: Check the Specifications on Paper, Not Just by Feel
Alongside wearing tests, verify the documented specs: diameter, base curve, water content, center thickness, and power range. Ask for the spec sheet and compare it against what was quoted. Small deviations are normal in manufacturing; silent deviations are not.
Two things trip up buyers repeatedly:
Diameter perception vs. diameter measurement. A 14.2mm lens with a wide color zone can look dramatically larger than a 14.5mm lens with a softer edge design. If your brand promise is “natural enlargement” or “bold doll-eye effect,” judge the worn effect, not the number.
Power availability. If your market needs prescription ranges, confirm early which powers the factory can actually produce for your design. Some intricate color patterns don’t translate cleanly into high prescriptions. Finding this out after launch is expensive.
Step 5: Don’t Let Packaging and Labeling Be an Afterthought
We’ve seen approved lenses die at the finish line because the packaging sample arrived late, or the label failed a compliance check in the destination market. The sampling stage should include a physical packaging mockup at minimum:
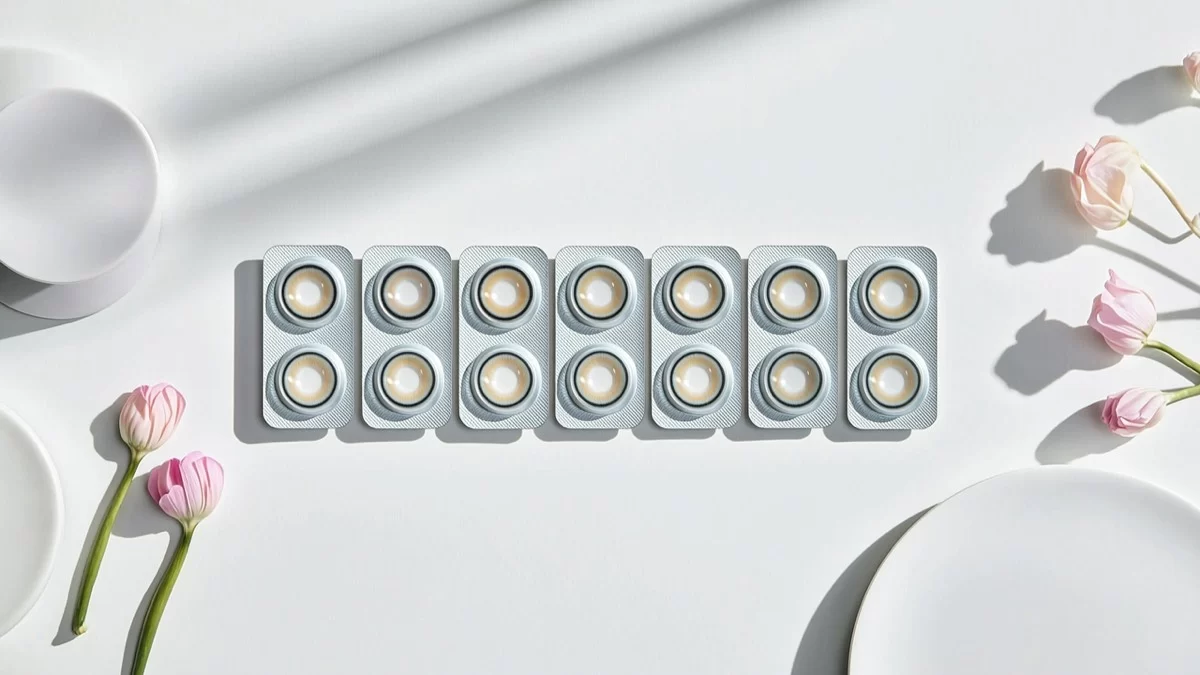
- Blister and box print quality — colors, registration, text legibility.
- Label content against your target market’s requirements (CE marking for Europe, proper labeling conventions for the US market where lenses are regulated medical devices, local language requirements where applicable).
- Batch code, expiry date placement, and how the information survives handling.
If you’re unsure what your market requires, ask your supplier what they’ve shipped there before. Factories with real export experience in your region will know the common pitfalls — and the ones they don’t ask about are worth a skeptical eyebrow.
Step 6: Run a Second Sample Round (Yes, Really)
One sample proves a concept. Two samples prove consistency. If your first round looks promising, request a second round — ideally from a separate production run. Comparing the two tells you whether the factory can reproduce results, or whether your first sample was a lucky one-off.
This is also the moment to test any revisions: adjusted color saturation, a tweaked edge design, updated packaging text. How a factory handles iteration reveals more about them than how they handle a first attempt.
Does the second round cost extra? Sometimes. Is it worth it? Almost always — especially for orders above a few thousand units.
Step 7: Write Down Your Approval — Precisely
The final step is administrative, and it matters more than it sounds. When you approve a sample, document exactly what you’re approving:
- Color name or code, with reference photos from your wearing tests.
- All measured specifications.
- Packaging version number or date.
- Any agreed tolerances (“color saturation within ±5% of approved sample,” etc.).
This document protects both sides. It turns “make it like the sample” from a vague hope into an enforceable standard, and it’s the difference between a smooth reorder eighteen months later and a finger-pointing match.
What This Looks Like in Practice: A Realistic Timeline
For planning purposes, here’s how a disciplined sampling process typically runs:
- Week 1–2: align on design, specs, and what the sample must prove.
- Week 3–5: first sample production and delivery.
- Week 5–7: wearing tests across multiple testers and lighting conditions.
- Week 7–9: feedback, revisions, second sample round if needed.
- Week 9–10: packaging mockup review and formal sign-off.
Roughly eight to ten weeks from first conversation to production-ready approval. Brands that compress this to three weeks aren’t saving time — they’re borrowing it from their future complaint handling.
The Bottom Line
Samples are cheap relative to a production run, which is exactly why they’re the highest-leverage investment in your entire launch. Every hour spent testing a $20 sample is an hour you won’t spend apologizing for a $20,000 mistake.
Test on real eyes. Test for comfort over hours, not seconds. Verify specs on paper. Include packaging. Run two rounds. And write down what you approved.
Do all of that, and you’ll walk into mass production with something rare in this industry: confidence instead of hope.
MIOMI supports brand owners through every stage of sampling and OEM/ODM production, from low-MOQ first runs to full custom programs. If you’re planning a launch or evaluating suppliers, we’re happy to share how our sampling process works — no commitment required.